
Tute: Fixing a broken circular

As you can see the cable ripped itself out of the metal portion of the needle. It fit back in pretty snuggly. So quick go find sand paper or an emery board. I had an emery board on hand so that's what I used.
Step 1: sand down the portion of the cable that fits into the metal casing. keep sanding around, decreasing the diameter and trying it on till it fits but is a little lose, this will leave room for glue and enough maneuvering. The little nub on mine was quite long so I also sanded it down a bit shorter.

Step 2: Now you want to do this quickly. Put on some super glue and slide the nub inside the metal part. If it's still not fitting and you can't get a flush fit (no gaps for the yarn to get stuck) quick pull it back out before the glue dries! Then go back to sanding and remove the glue along with a little more. This is the point I realized my nub was a little too long to easily stuff it in.

I used a binder clip to make grasping it easier. This way I could quickly shove the cable in and make sure it was flush with the metal.

Step 3: Marvel at how easy that was and how much money you just saved!

And here's why I wanted my needles back!
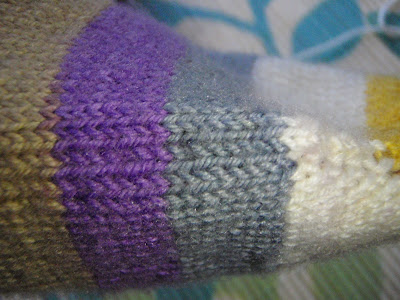
Toe up socks of my own design in Felici Time Traveler!
Toe up socks of my own design in Felici Time Traveler!

Look ma, no ladders!
♥ Freckled Crafter

No comments:
Post a Comment